

Stop Shivering in Your Bathroom: A Guide to Smart Infrared Heat
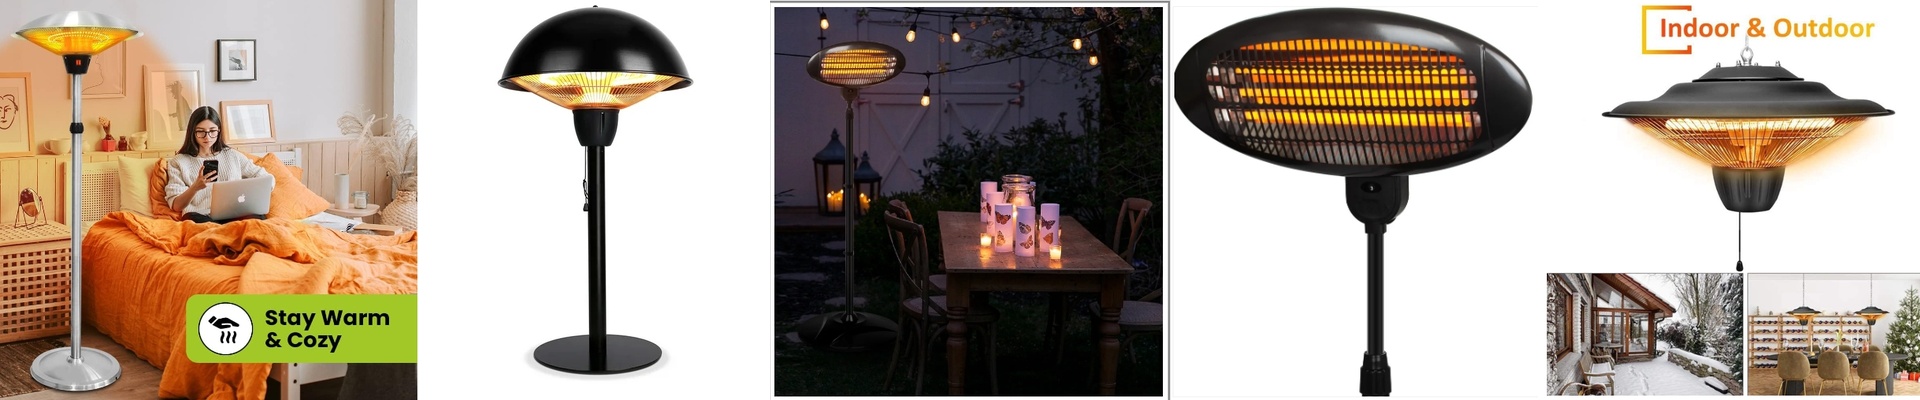
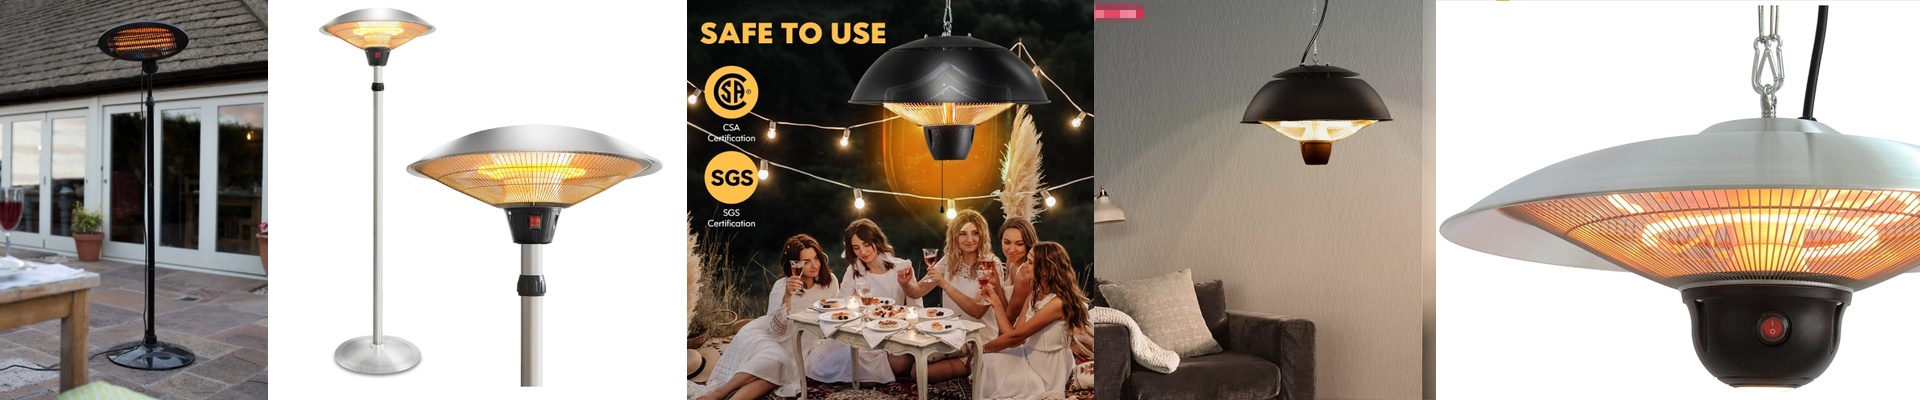
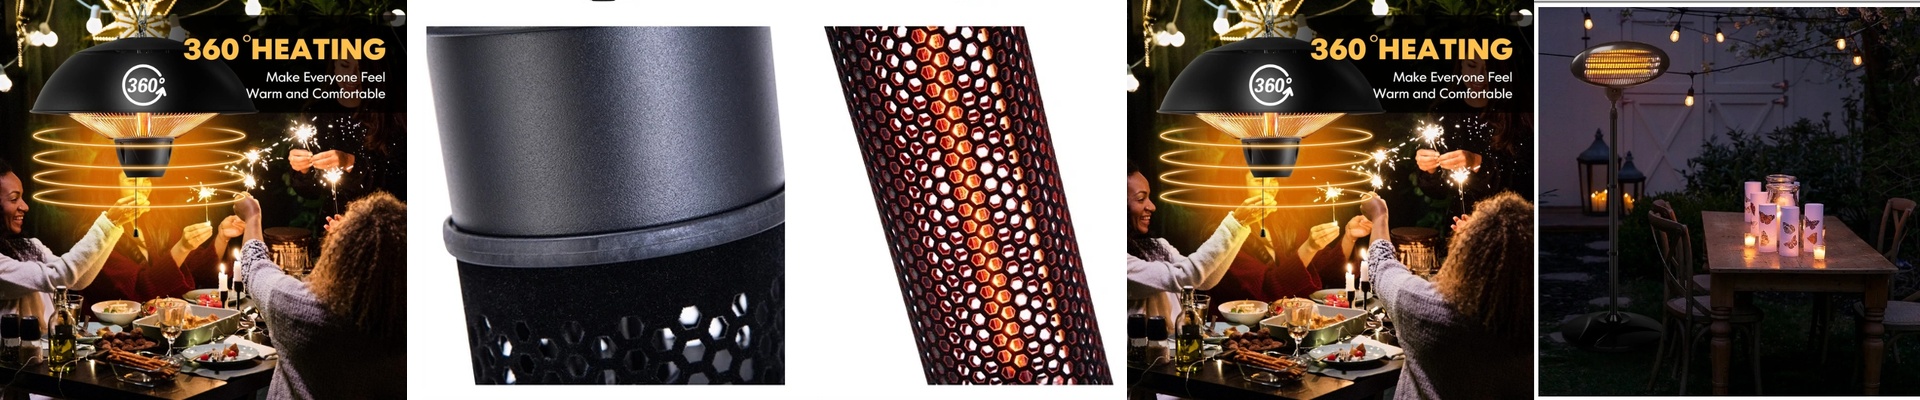
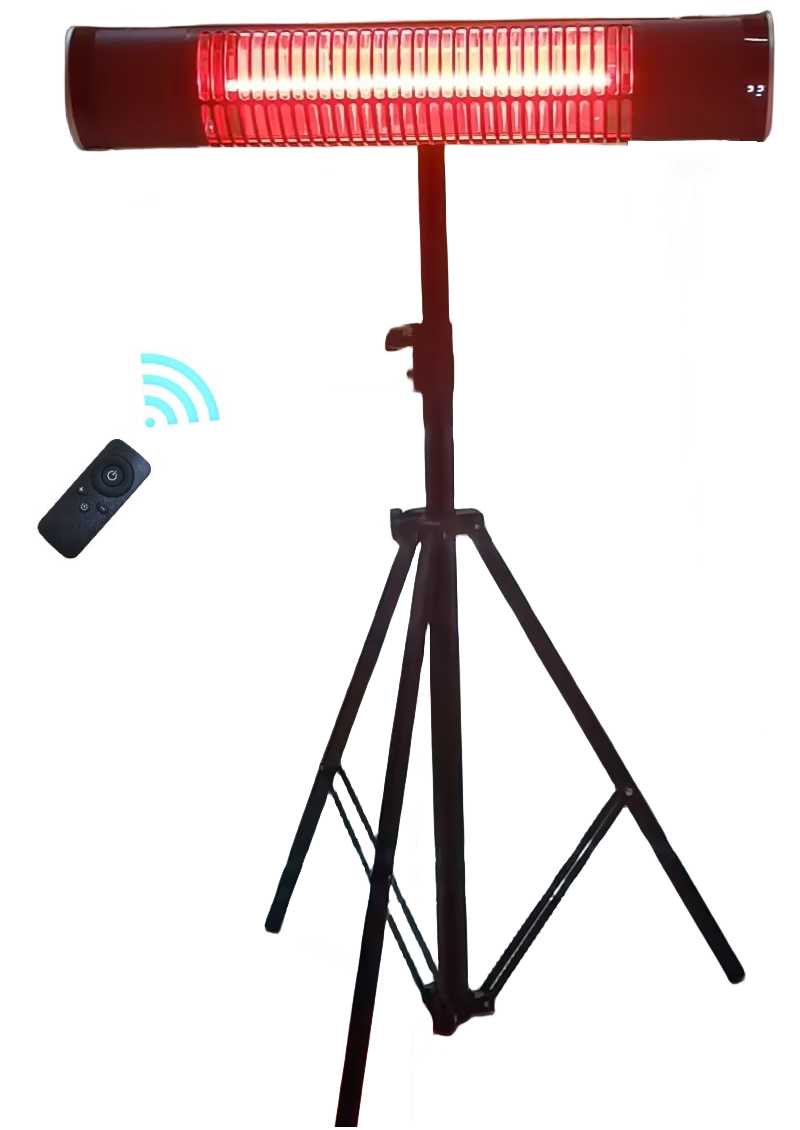
Ever stepped into a freezing bathroom on a Tuesday morning and felt that instant regret? We’ve all been there. Most heaters just try to warm up the air, which takes forever. Infrared (IR) is different. It doesn’t bother with the air; it goes straight for you. It’s like stepping into a beam of sunlight on a spring day. The second you turn it on, you feel it. No waiting. No shivering. Making it “Smart” If you want to control these things from your phone or a voice assistant, you just need a way to bridge the gap between the heater and your network. Usually, we just pop a Wi-Fi or Zigbee relay into the power line. Since most of these units run on standard household power, it’s a pretty straightforward setup. Once that relay clicks shut, the heating element hits full blast in milliseconds. It’s basically instant. Setting the Mood (and the Temp) The real magic happens when you create “scenes.” I love linking the heater to the bathroom light. You flip the switch to brush your teeth, and boom—the room is already cozy. But you don’t want to accidentally turn your bathroom into a sauna. To stop that, you can toss in a cheap temperature sensor. I usually set mine to kill the power once the room hits about 26°C. It saves on the electric bill and keeps you from overheating. A Few Things to Watch Out For Here’s the catch: these things pull a lot of power. If you try to cram too many IR lamps onto one circuit, you’re probably going to trip your breaker. If you’re doing a big installation, just give them their own dedicated line. It’ll save you a headache later. And remember, IR works like a flashlight—it needs a clear line of sight. If you bury the heater too deep in a recessed ceiling, half the heat just hits the drywall. Put them where they can actually “see” you, and you’ll get the most out of them.